2019-09-16
2019-09-16
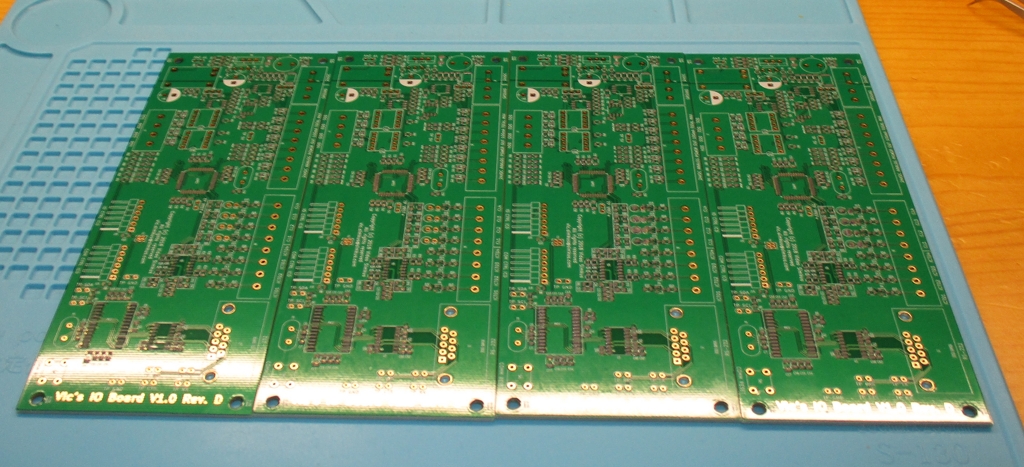
Final assembly has begun. While waiting for the parts for the Beagle Bone expansion boards I started assembling the IO boards. I figures four at a time was a good idea. Find all the location on the first board and then copy that to the other boards. One component at a time of course.
I was wrong. Five hours into this, my solder paste is getting dry, I’m getting anxious from sitting in one spot for five hours, the wine is running low, and the dog is being extra needy.
But I got it done. Below are a few pictures. If you notice an ever so slight difference to my other pictures, I congratulate you on your exceptional perceptiveness. This time I utilized a camera mounted on tripod attached to a tailpipe of a screaming Harley motorcycle.
Stencil setup. Suppliers send me all sorts of tchotchkies to thank me for wasting my money with them. They probably think that after this order of four opamps I will order like a million more. Fools. Their loss is my gain. I use the ‘ruler made out of PCB’ for my stencil fixturing.

With the goop applied. I am super happy with the Chip Quik TS391AX paste. Super slimy and gooey, but produced razor sharp edges.
So much bling for such a little home made oven. Doing three boards at a time because I couldn’t fit all four at once.

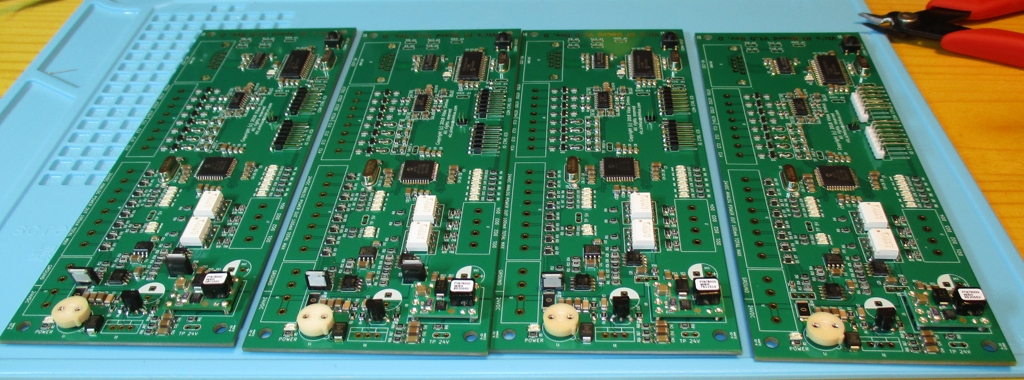
Out of the oven and partially assembled. As you can see on the right two (my right) I ran out of digital and analog power drive FETs.
Two assembled boards.
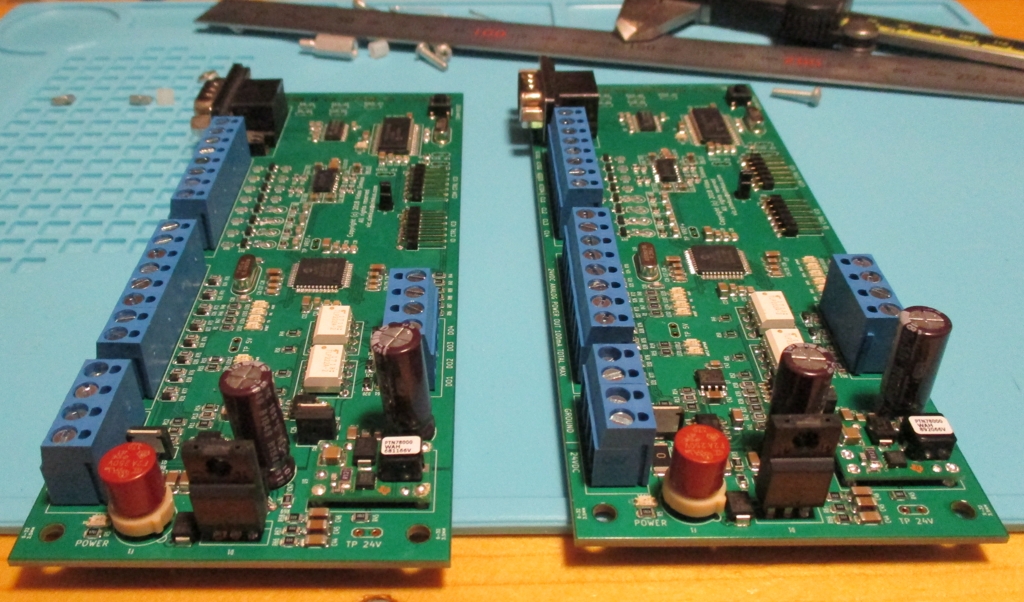
Once the rest of the hardware comes I will be assemble a final VPSB and starts the final assembly. Super exiting.