2019-09-22
2019-09-22
The hardware design is complete. All of the units that I will assemble have been assembled. The software is good shape. It hasn’t been touched in a few months, but last I worked on it it was in very good shape. The next step is actual physical assembly of the whole thing.
Below are a few select pictures of the assembly progress. All taken with PotatoCam II.
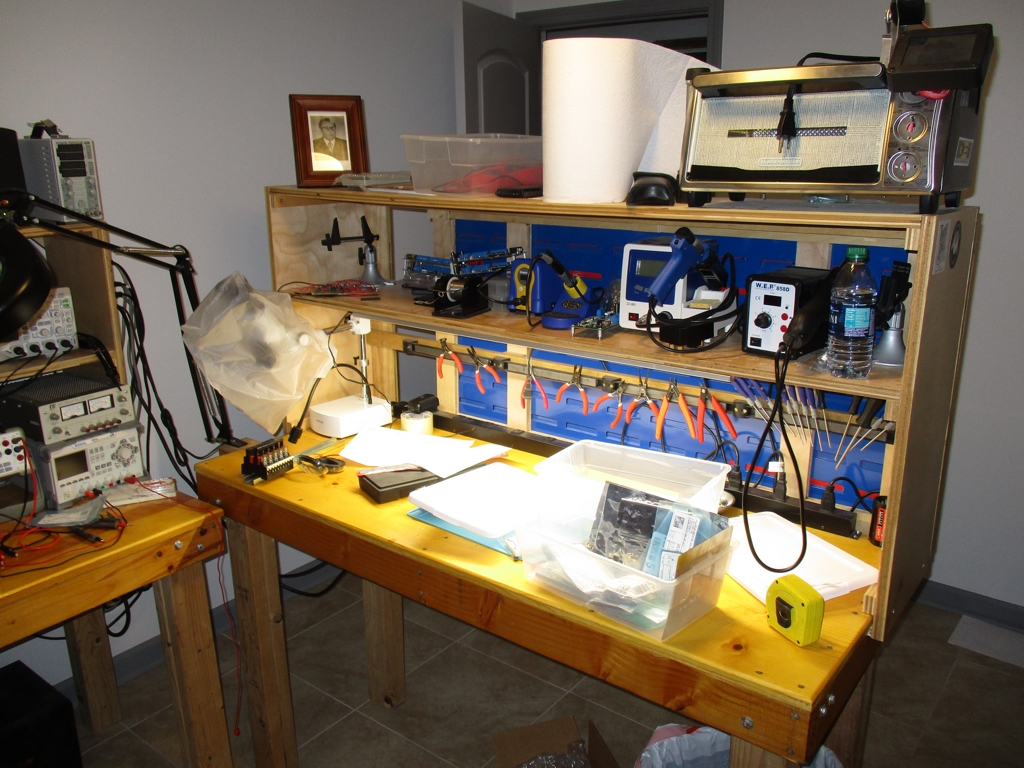
Where the magic happens, one of two. The side workbench. We see the home-made easy-bake oven. The thing is an exercise in semi organized chaos.
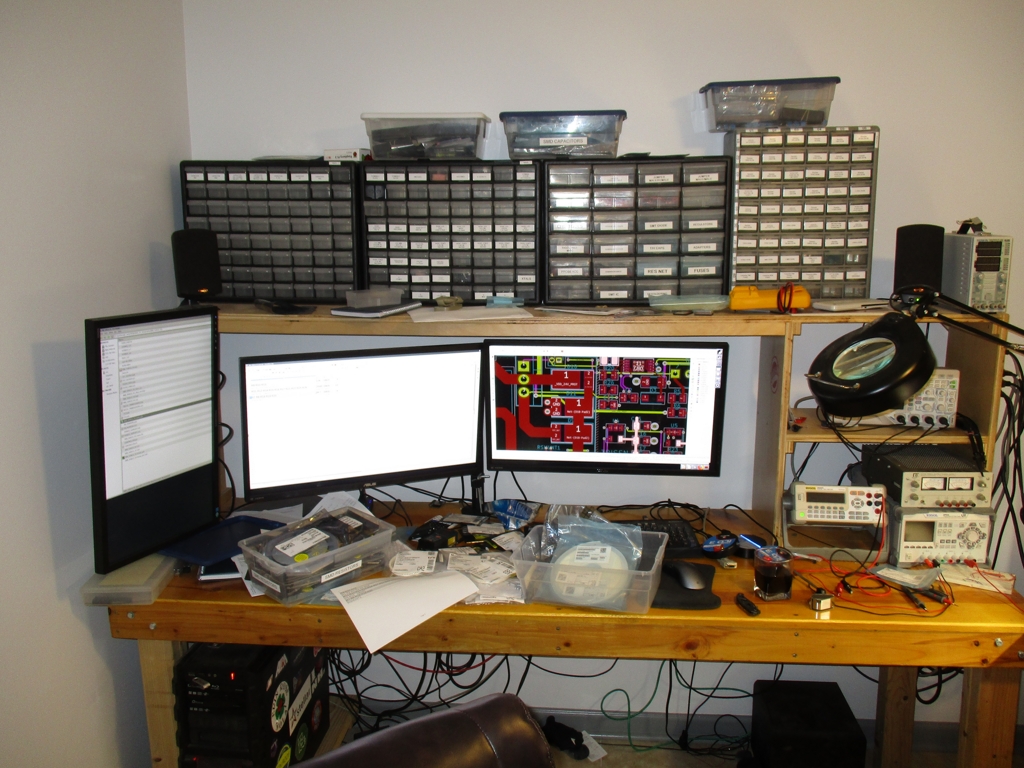
Where the magic happens, two of two.
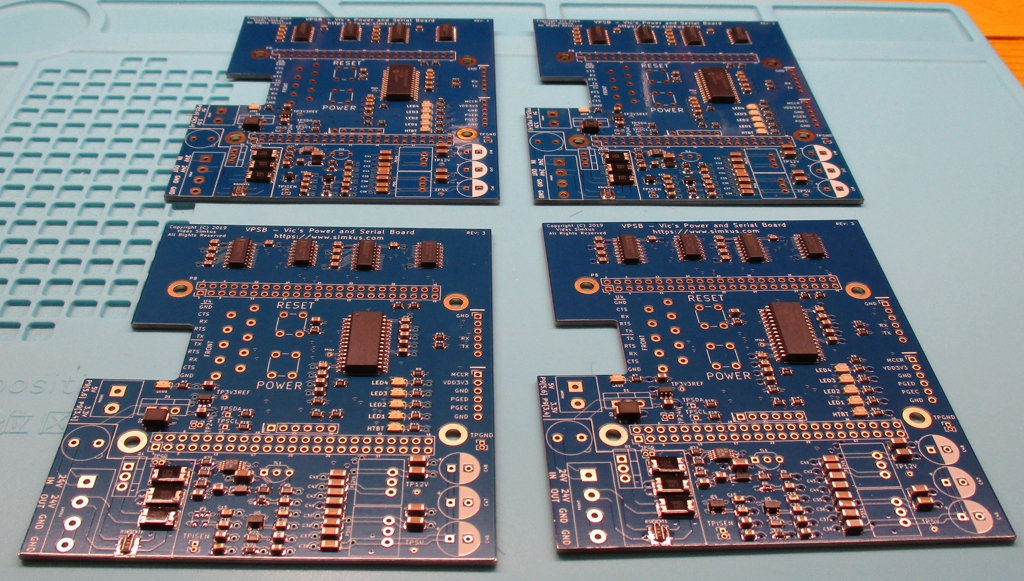
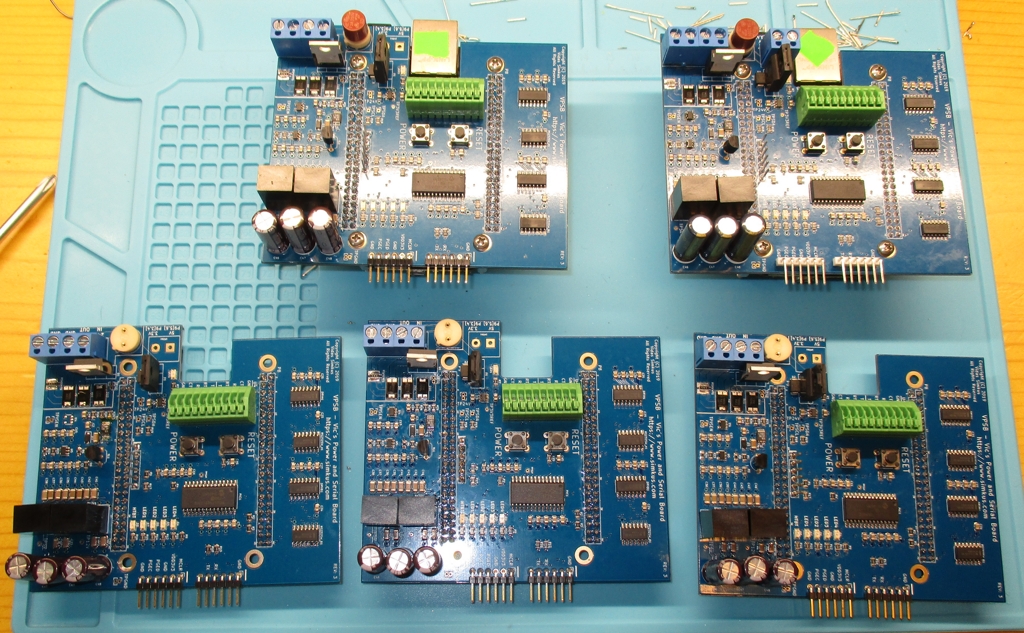
Four of the VPSB boards fresh out of the oven. Overall the process went very well. The only issue was the LTC7004. The 10-MSOP package is freaking tiny. After the first stencil operation the pads start to lose their sharpness and require rework to fix bridged pins.
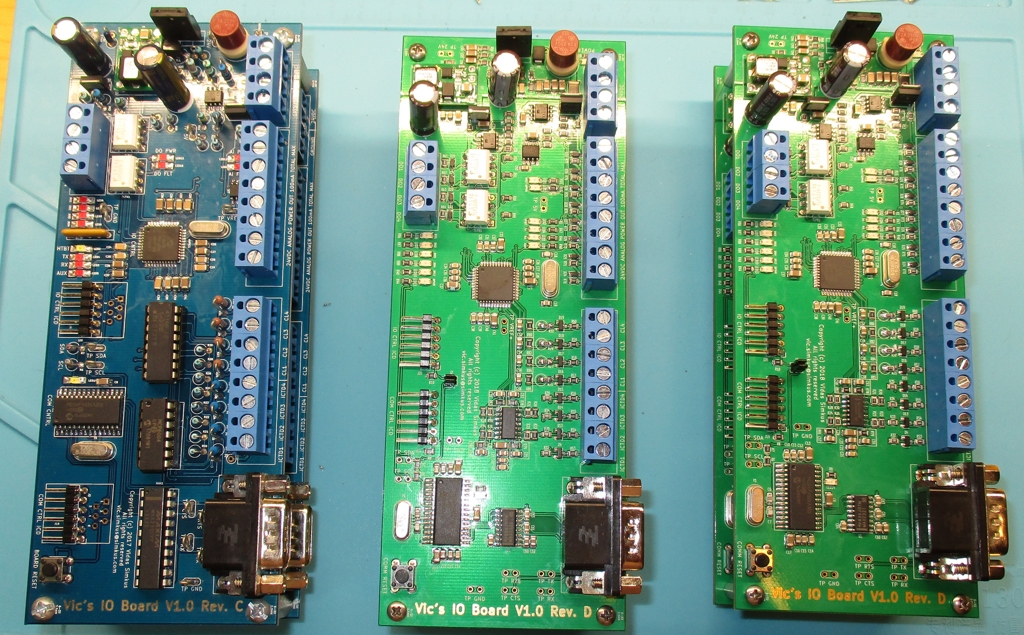
Four of the assembled REV D boards (green PCB). On the right is REV C. REV C has a lot more through-hole components and it’s actually a dual sided board. Those were assembled by hand with the reflow oven before I had built the easy-bake oven.
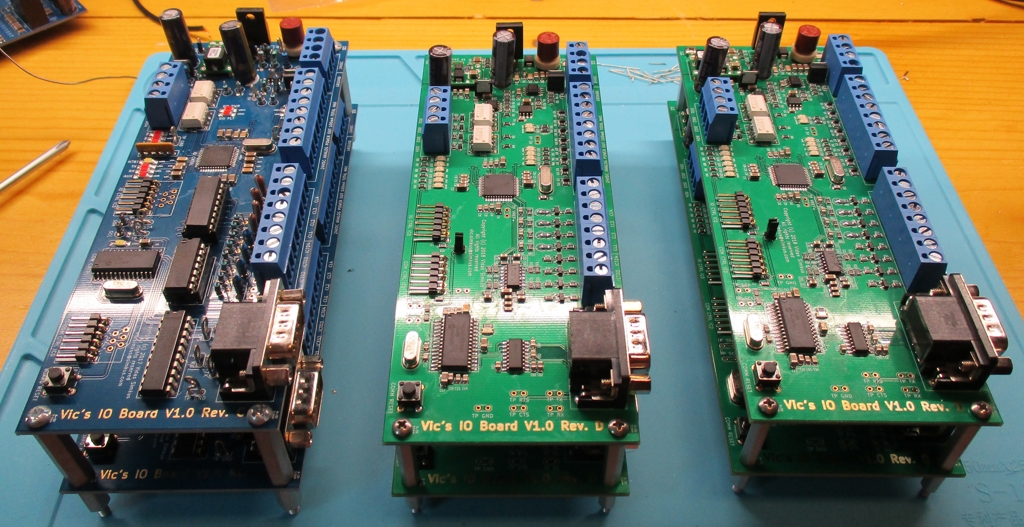
Another angle of the boards.
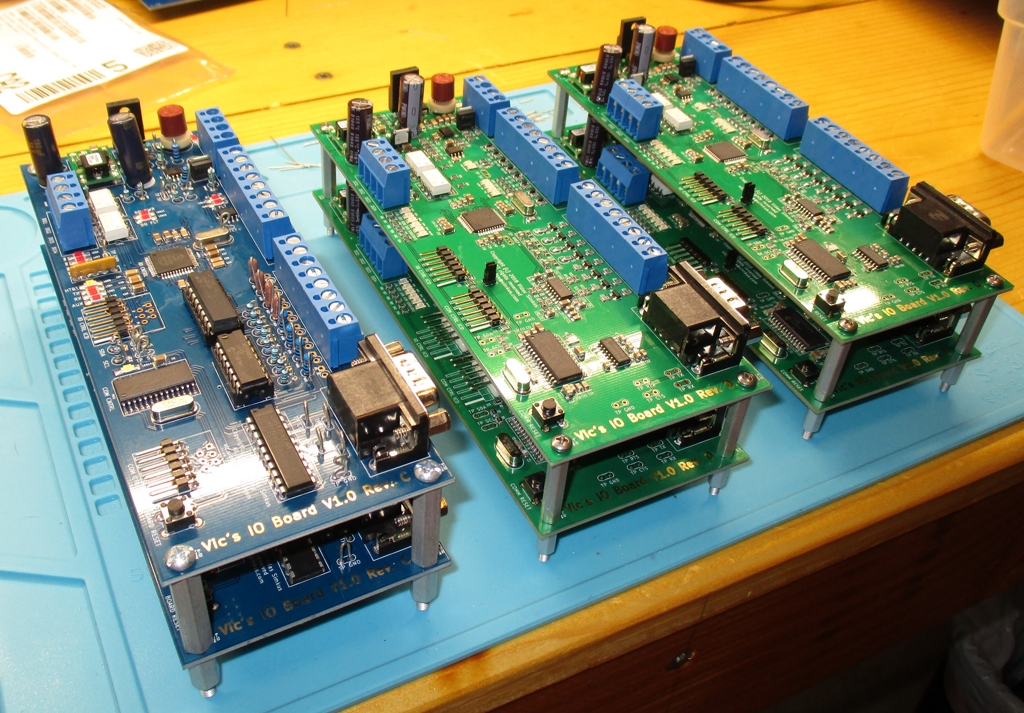
Yet another angle.
A top view of the boards.
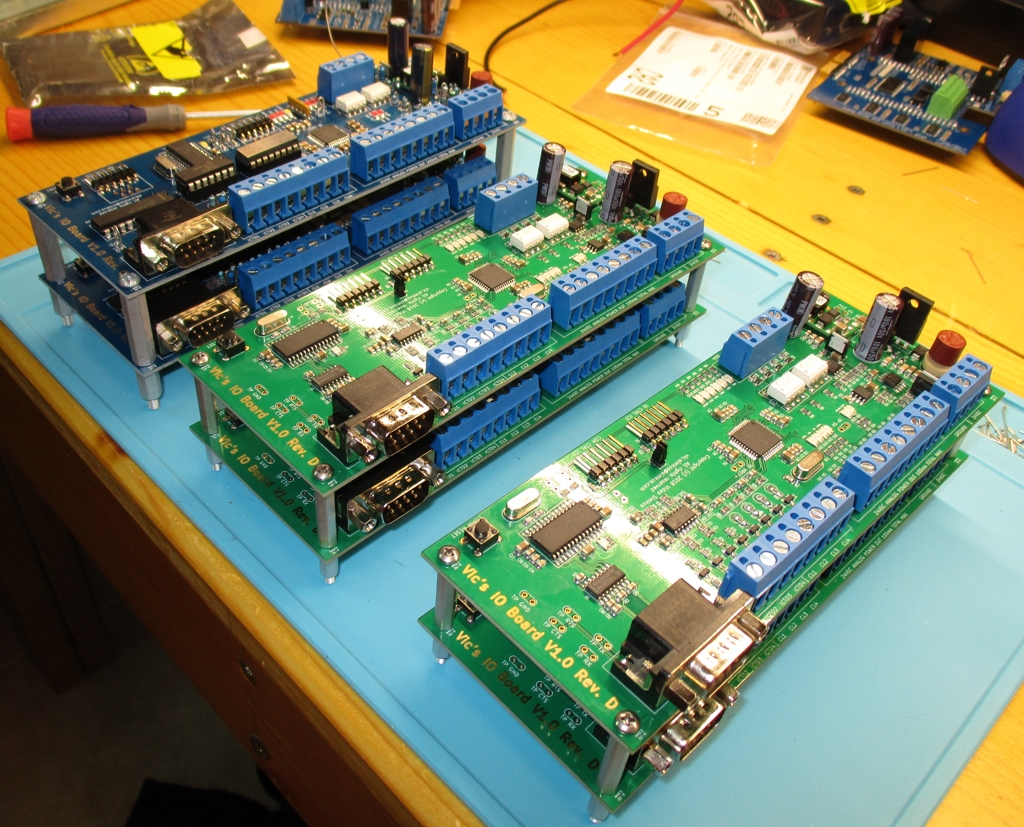
Top view of the assembled VPSB boards. Two of them are mounted on the Beagle Bones.
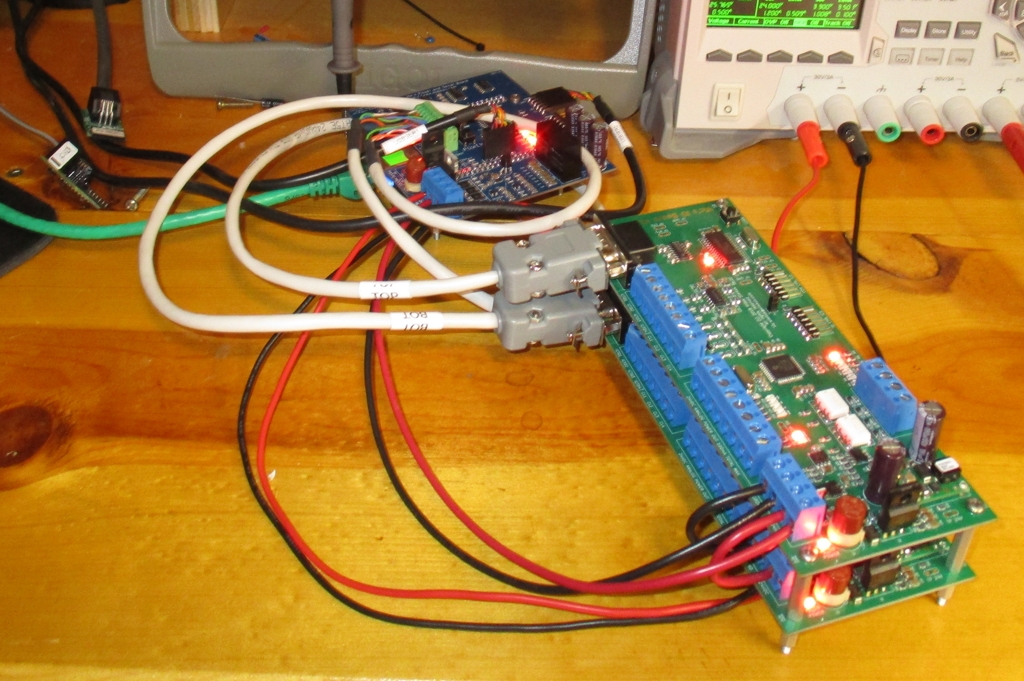
A Beagle Bone with a VPSB and two boards as a unit. Everything works. I made the serial cables out of a stranded CAT-whatever network patch cable.