2018-12-10
2018-12-13
The new VSPB (Vic’s Serial and Power Board – catchy, eh?) is working very well so far. That will be a different post. This is about configuring the BBB (BeagleBone Black) the Vic way.
During the development of this project, a new version of Debian was released for the BBB. Since I want to be hip and with the times I decided to upgrade to the latest version. Debian Stretch IoT is my poison of choice. The procedure of getting the image off of the internets and into the BBB was uneventful and not worth mentioning in great detail. The configuration of the stock image into something that Vic Would Approve ™ is worthy of a paragraph or two.
The summary of what we’re going to do here:
- Get back the root account
- Remove as much of the cruft as possible from the default install
- Setup networking
- Get rid of systemd
- Misc loose ends
Step 00 – getting back the root account
Yes, I know. Doing things as root is no longer cool. Well I don’t think that typing sudo before every single command is cool. So the very first step is:
sudo passwd
Now we have root back.
Step 01 – getting back the loud display
By default, the system boots in quiet mode. I like it loud [que The Grid – Swamp Thing ]. So in /boot/uEnv.txt this line:
cmdline=coherent_pool=1M net.ifnames=0 quiet
gets changed to
cmdline=coherent_pool=1M net.ifnames=0
Notice the deletion of the ‘quiet‘ option
Now, instead of this:
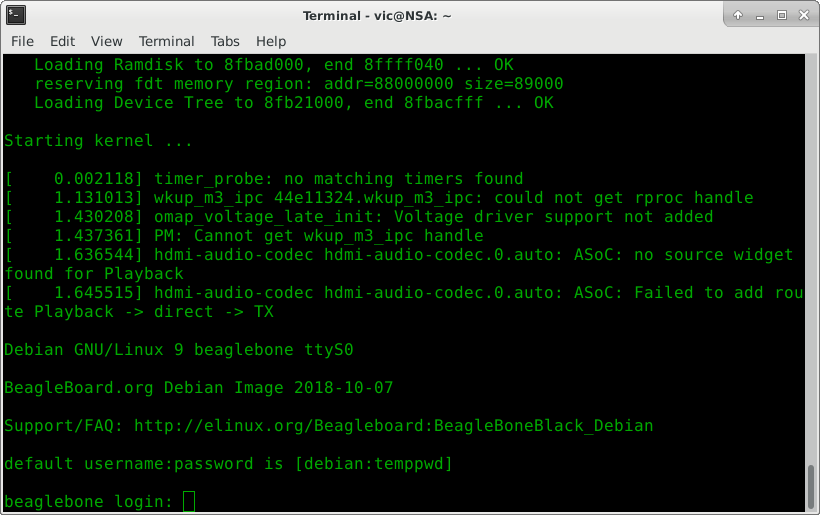
We get glorious boot output:
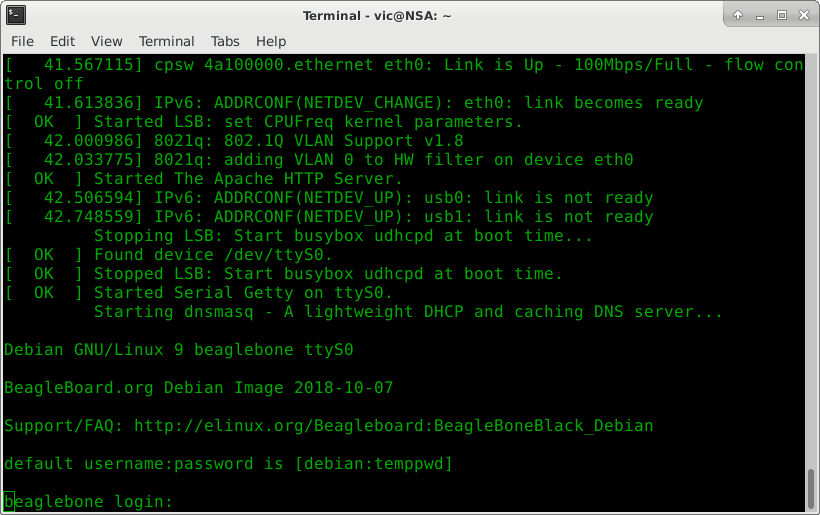
And immediately we see a ton of bloat that we are going to be removing.
Step 02 – getting the bloat out
I will be using this as an ’embedded’ system. As such less is more. Our starting point:
Filesystem      Size  Used Avail Use% Mounted on
udev            215M     0  215M   0% /dev
tmpfs            49M  4.6M   44M  10% /run
/dev/mmcblk1p1  3.5G  1.9G  1.4G  58% /
tmpfs           242M     0  242M   0% /dev/shm
tmpfs           5.0M  4.0K  5.0M   1% /run/lock
tmpfs           242M     0  242M   0% /sys/fs/cgroup
tmpfs            49M     0   49M   0% /run/user/0
With the following command we start the purge:
apt-get purge apache2 apache2-bin apache2-data apache2-utils avahi-daemon bluetooth bluez bone101 bonescript dnsmasq nodejs ppp connman dnsmasq-base libapr1:armhf libaprutil1:armhf libaprutil1-dbd-sqlite3:armhf libaprutil1-ldap:armhf libavahi-common-data:armhf libavahi-common3:armhf libavahi-core7:armhf c9-core-installer
Filesystem      Size  Used Avail Use% Mounted on
udev            215M     0  215M   0% /dev
tmpfs            49M  4.6M   44M  10% /run
/dev/mmcblk1p1  3.5G  1.8G  1.6G  54% /
tmpfs           242M     0  242M   0% /dev/shm
tmpfs           5.0M  4.0K  5.0M   1% /run/lock
tmpfs           242M     0  242M   0% /sys/fs/cgroup
tmpfs            49M     0   49M   0% /run/user/0
Gained 200MB. And more importantly added some simplicity into the system.
Step 03 – getting the network working
Next step is getting networking working. Adding:
auto eth0
iface eth0 inet dhcp
to /etc/network/interfaces gets us a DHCP client on eth0. Of course we’re using wired Ethernet. We’re men, aren’t we.
Step 04 – getting apt updated
Once we have a connection to the outside we update apt
apt-get update
Step 05 – getting rid of systemd
Why? Because we like the simplicity and predictability and because we believe in the ‘unix way’ of doing thing. With the help of http://without-systemd.org/wiki/index.php/How_to_remove_systemd_from_a_Debian_Stretch_installation we’re going to be getting rid of systemd.
First install SYSV core.
apt-get install sysvinit-core
Copy the sample inittab to production.
cp /usr/share/sysvinit/inittab /etc/inittab
This is important – make sure to edit /etc/inittab to enable the serial console!
NOTE: To be fair I don’t know if not including this line will really disable the serial console, but I didn’t feel like finding out the hard way.
T0:23:respawn:/sbin/getty -L ttyS0 115200 vt100
Pull the trigger on possibly destroying your perfectly operational Linux install:
apt-get remove --purge --auto-remove systemd
Keep apt from reinstalling systemd.
echo -e 'Package: *\nPin: origin angband.pl\nPin-Priority: 1100\n' > /etc/apt/preferences.d/nosystemd
echo -e 'Package: libsystemd0\nPin: version *\nPin-Priority: 500\n' >> /etc/apt/preferences.d/nosystemd
echo -e 'Package: *systemd*\nPin: release *\nPin-Priority: -1\n' >> /etc/apt/preferences.d/nosystemd
Update apt again because we’re not super clear on the workflow so we keep invoking it in hopes of not getting too far ahead of our selves in case it breaks.
apt-get update
apt-get dist-upgrade
Step 06 – getting the power button to work again
So the neat thing about the power button is its simplicity. You press it and the thing that the power button is attached to turns off. Now apparently systemd handles ACPI for us (thanks, systemd!) so we must reinstall acpid to get the power button working again.
apt-get install acpid
Behold, we now have a fully functioning power button. Go ahead. Press it. You know you want to.
Step 07 – getting the timing right
Apparently systemd also handled NTP for us. How nice of it to handle everything for us. So rare to find people who are experts at so many things.
apt-get install ntp
Edit /etc/timezone and replace the contents with America/Chicago or your timezone if you feel like being a contrarian.
Step 08 – getting rid of more cruft
Because ours is the rare SOC that doesn’t have CPU cycles to spare, we don’t use encrypted disks, so we can get rid of that noise in the logs. Another just as valid, perhaps even more valid method that doesn’t spew ‘missing file’ errors after you’re done is to remove the links in /etc/rcX.d directories.
cd /etc/init.d
mv cryptdisks cryptdisks.disabled
mv cryptdisks-early cryptdisks-early.disabled
We don’t need a DHCP server. We already have a DHCP server within our network infrastructure.
cd /etc/init.d
mv udhcpd udhcpd.disabled
This system will be acting purely as a logic controller. We don’t need sounds and so forth.
apt-purge alsa*
Because you’re never going to use IPv6 on your home network because you’re not up to wrestling with 128 bit addresses disable it in the kernel. Add these to /etc/sysctl.d/local.conf.
net.ipv6.conf.all.disable_ipv6=1
net.ipv6.conf.default.disable_ipv6=1
Step FF – getting rid of lack of enjoyment
We now have a very functional and fairly svelte “embedded” Linux system. Go ahead and enjoy your favorite EBM act. Next step will be getting the serial ports to work so that we may test the RS232 drivers.